

Leave your fancy ice cream makers at home for this kid-friendly DIY. Last week, we had a chance to try out this fun activity. Days later, my toddler is still emphatically telling every stranger on the street how he made his own ice cream. Of course, the delicious end product is the ice cream on the cake!
5-minute Ziploc Ice Cream
You will need:
- A large (gallon) size Ziploc
- A small (pint) size Ziploc
- 1/2 gallon of ice (about enough to half fill the large Ziploc)
- 6 tablespoons rock salt
- 1 tablespoon sugar
- 1/2 cup heavy cream
- 1/4 tsp vanilla extract
Instructions:
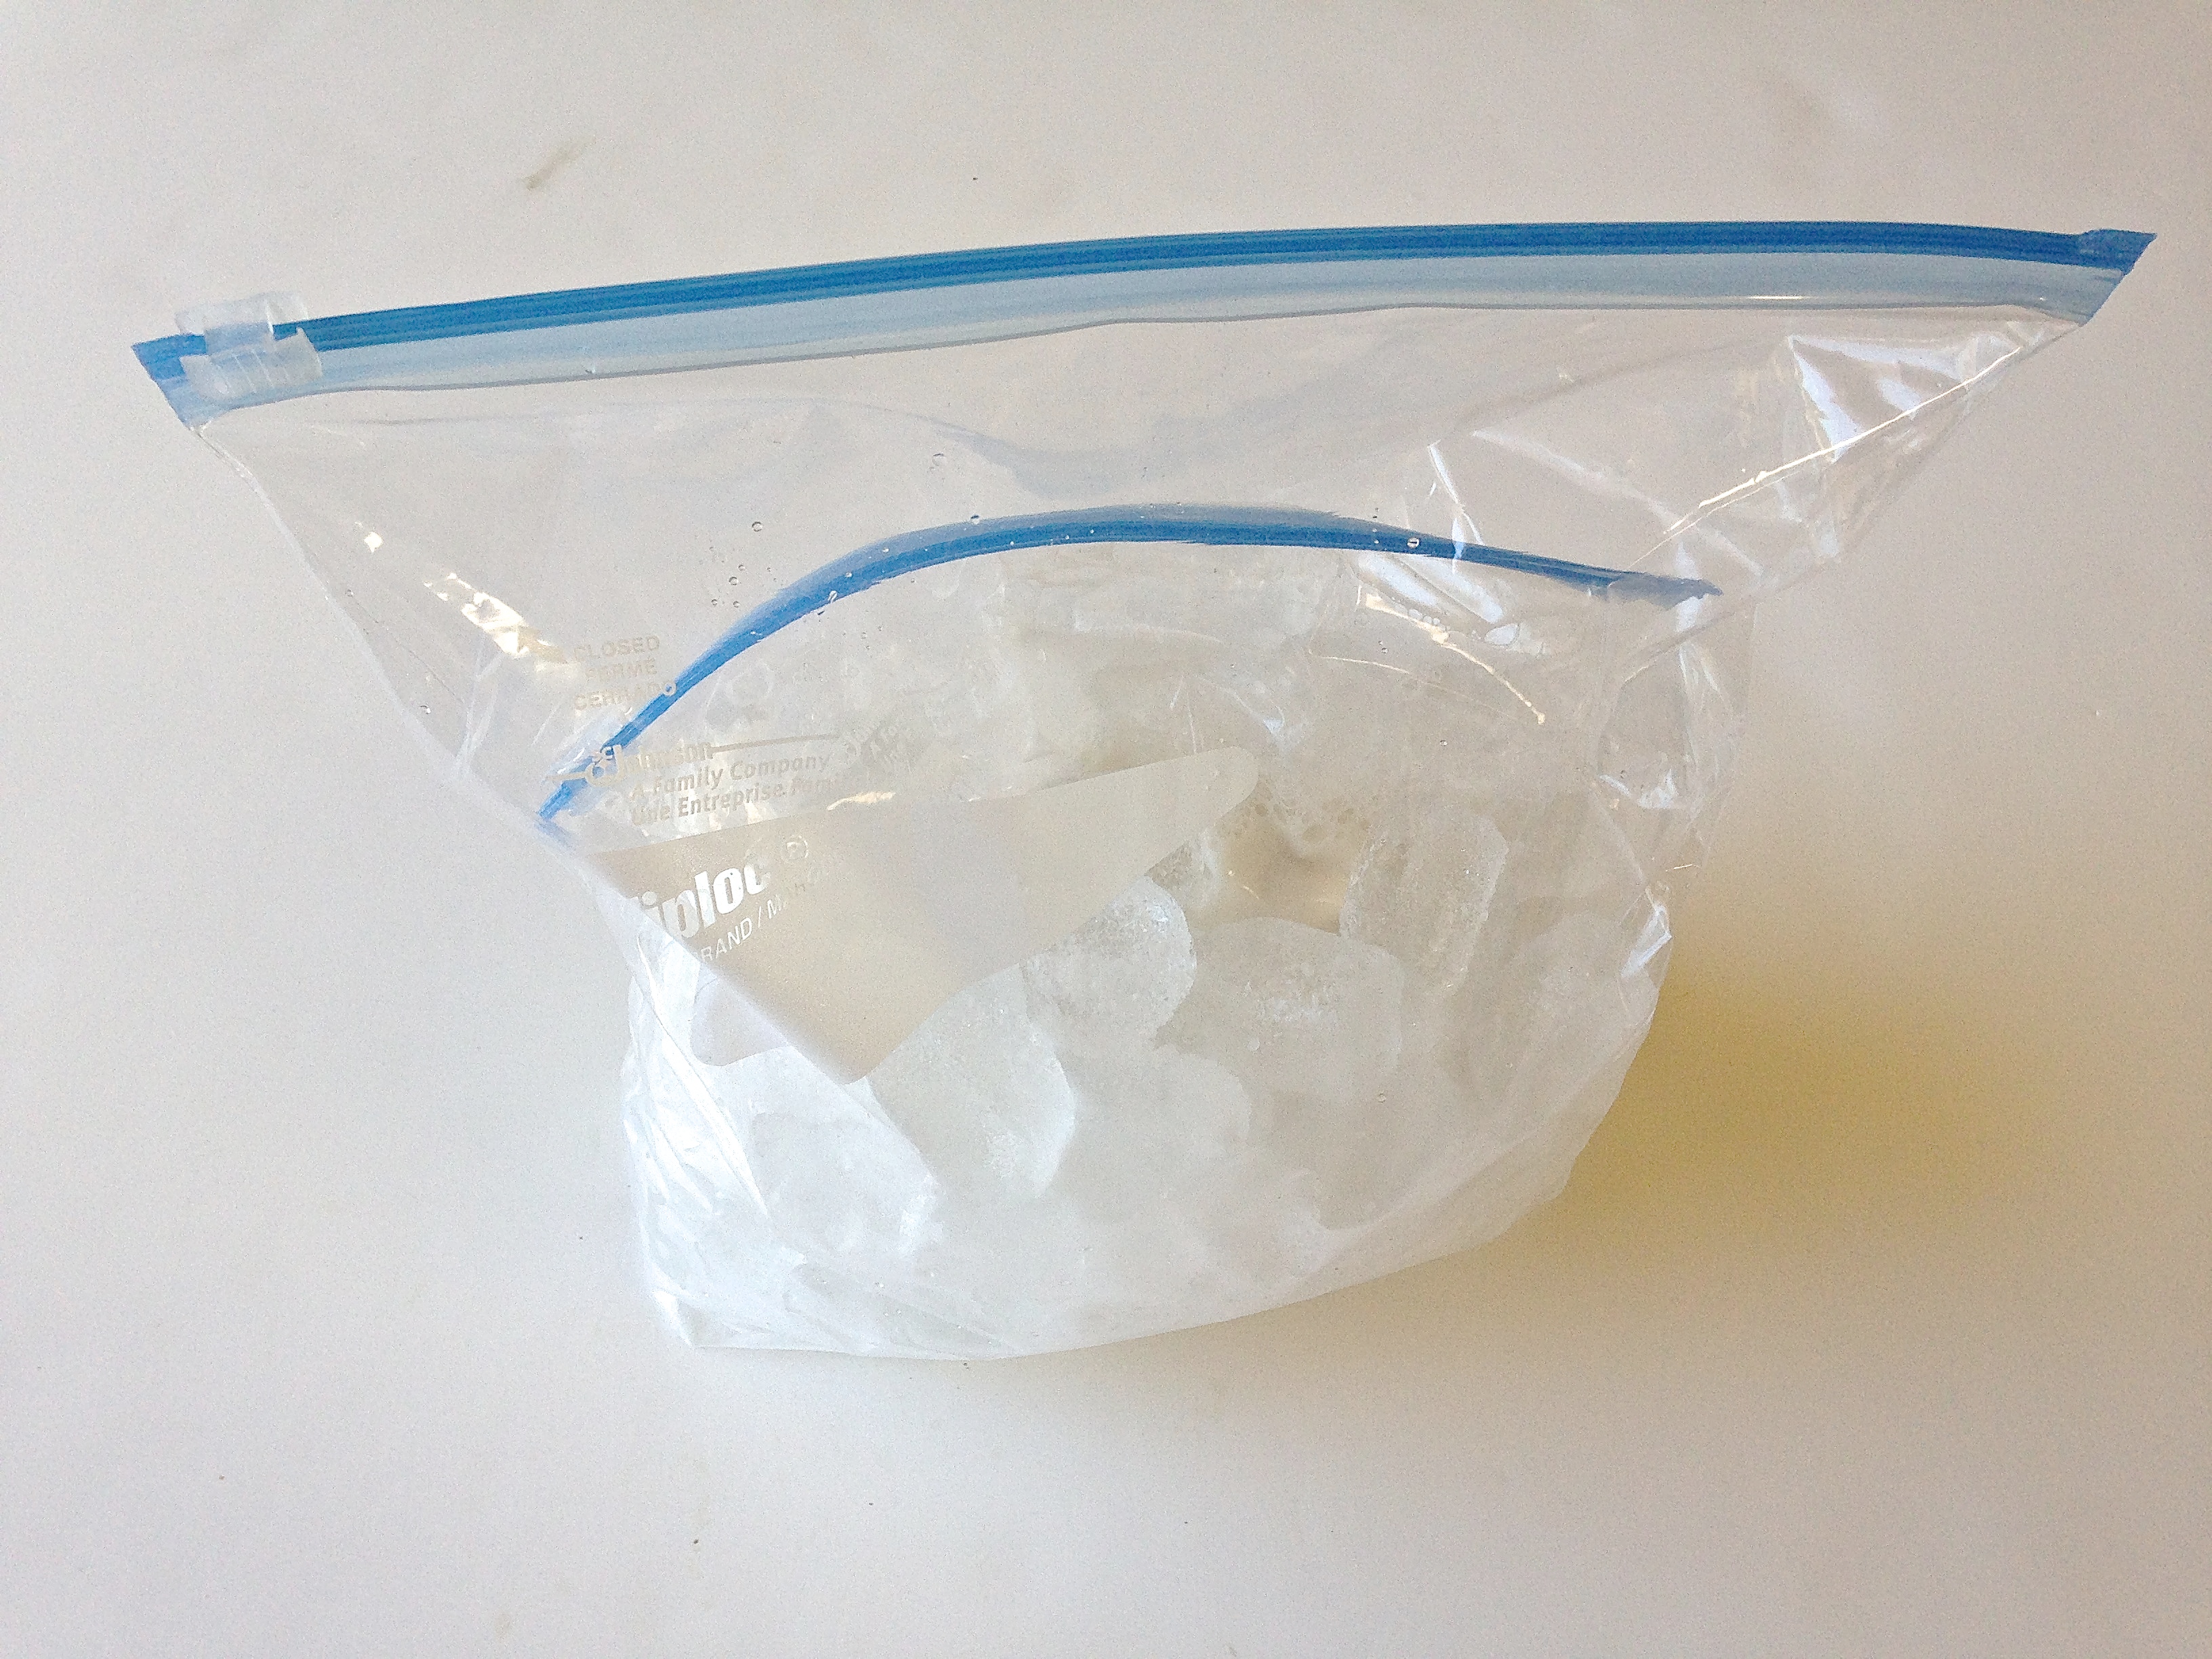
1. Place the ice and salt in the large Ziploc bag.
2. Place heavy cream, sugar, and vanilla extract in a small bowl and mix.
3. Pour liquid mixture into small Ziploc and seal it tightly, making sure there is little air in the ziploc.
4. Put the small Ziploc in the larger one, burying it in the ice.
5. Shake vigorously for 5 minutes. It gets cold! Use oven mitts to make the experience even more hilarious!
6. Ice cream is ready to serve! Yum! 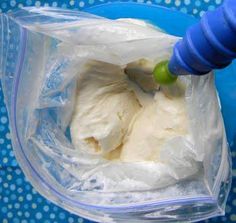
Variations: Try adding chocolate or strawberry syrup, Oreos, or chocolate chips for new ice cream flavors.
Science connections: Heat Transfer
Why do we add salt?
Salt makes ice melt (that’s why it is used on icy roads). But, ice can only melt if it absorbs heat from somewhere. The heat in the cream mixture quickly transfers to the ice when we shake it. When the heat is gone from the cream, it freezes to make delicious ice cream!
 Photo credit: Rae / Foter / Creative Commons

Really good idea!